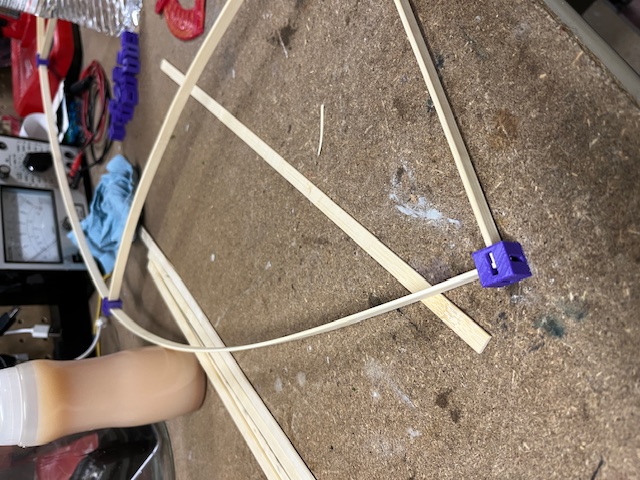
So she asked me if I could print something.
There are lots of existing parts for connecting pipes, rods, pool noodles, etc. but these… I guess you’d call them “reeds”? Are an oddball shape. She also wants to connect them at various angles to build 3-dimensional sculptures so I wanted to see if we could come up with a single, simple, strong and easy-to-print universal connector.
What we came up with is a cube, and I don’t know that it gets simpler than that when it comes to 3d printing.
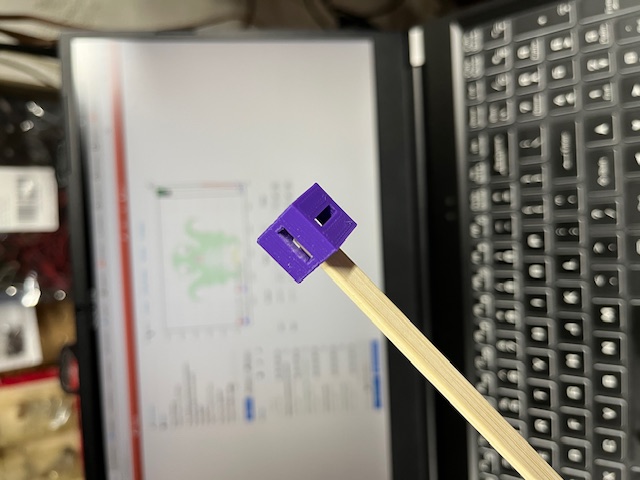
Each side of the cube has an opening just big enough for the reed to slot into, but small enough to hold it fairly tightly; not a permanent fit but strong enough to “prototype”, and when you want it to be permanent you can add a little glue.
The slots goe all the way through, allowing the joint to “split” the length of a reed without having to cut them.
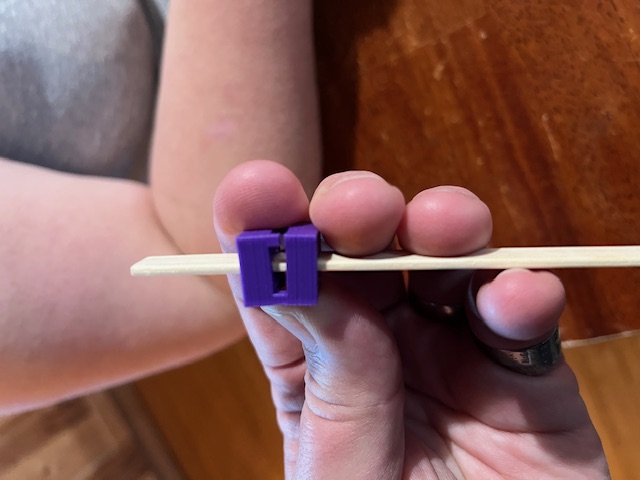
In addition to showing how the reed can pass-through, this photo also shows the weakness of the first generation.
The result is a dead-simple part that turns this bag of bamboo into a construction set!
Like most designs there were a couple iterations but far fewer than expected.
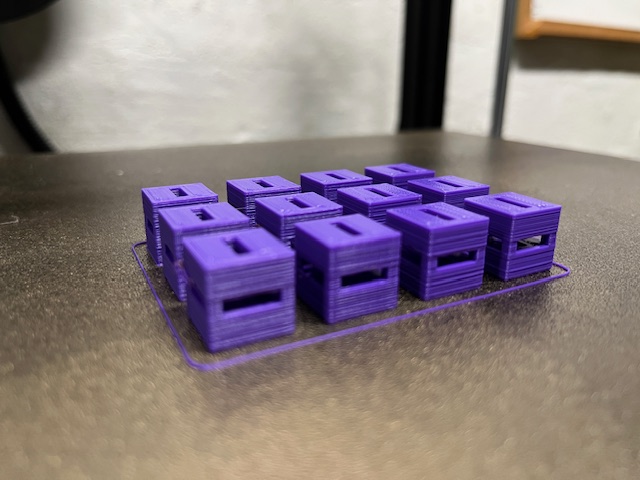
In the first iteration, the reeds in four of the holes press directly against the printing layers.
The main problems were getting the fit just right, and positioning the print on the bed so that the force of bending the reeds didn’t push directly against the layers of the part.
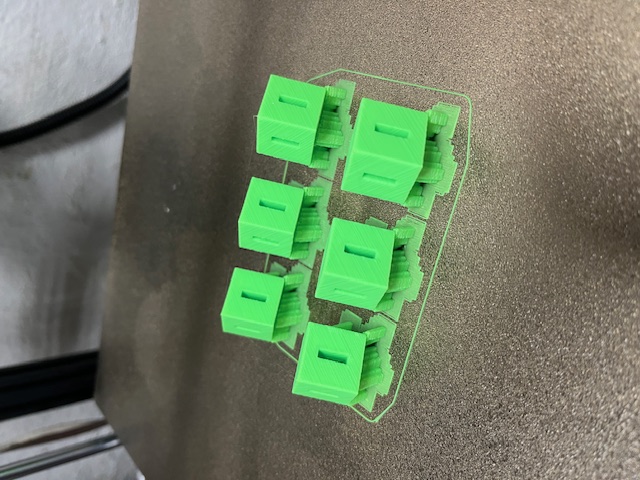
The second iteration places the reeds and the layers at a 45 degree angle from each other.
By simply changing the printing orientation, the parts became so strong that the reeds now break before the part fails.
Aside from printing time it took an hour or two of noodling and experimenting to reach the final version of the design, and of course you can download and print your own from here (OpenSCAD file is available as well here). Just be sure to print them on an angle.