Continuation of the Wine Cooler saga.
The parts I needed for the wine fridge showed-up about a month ago, but I couldn't find time to work on it again until last weekend. Summer is not a great time to get things done that need to be done indoors.
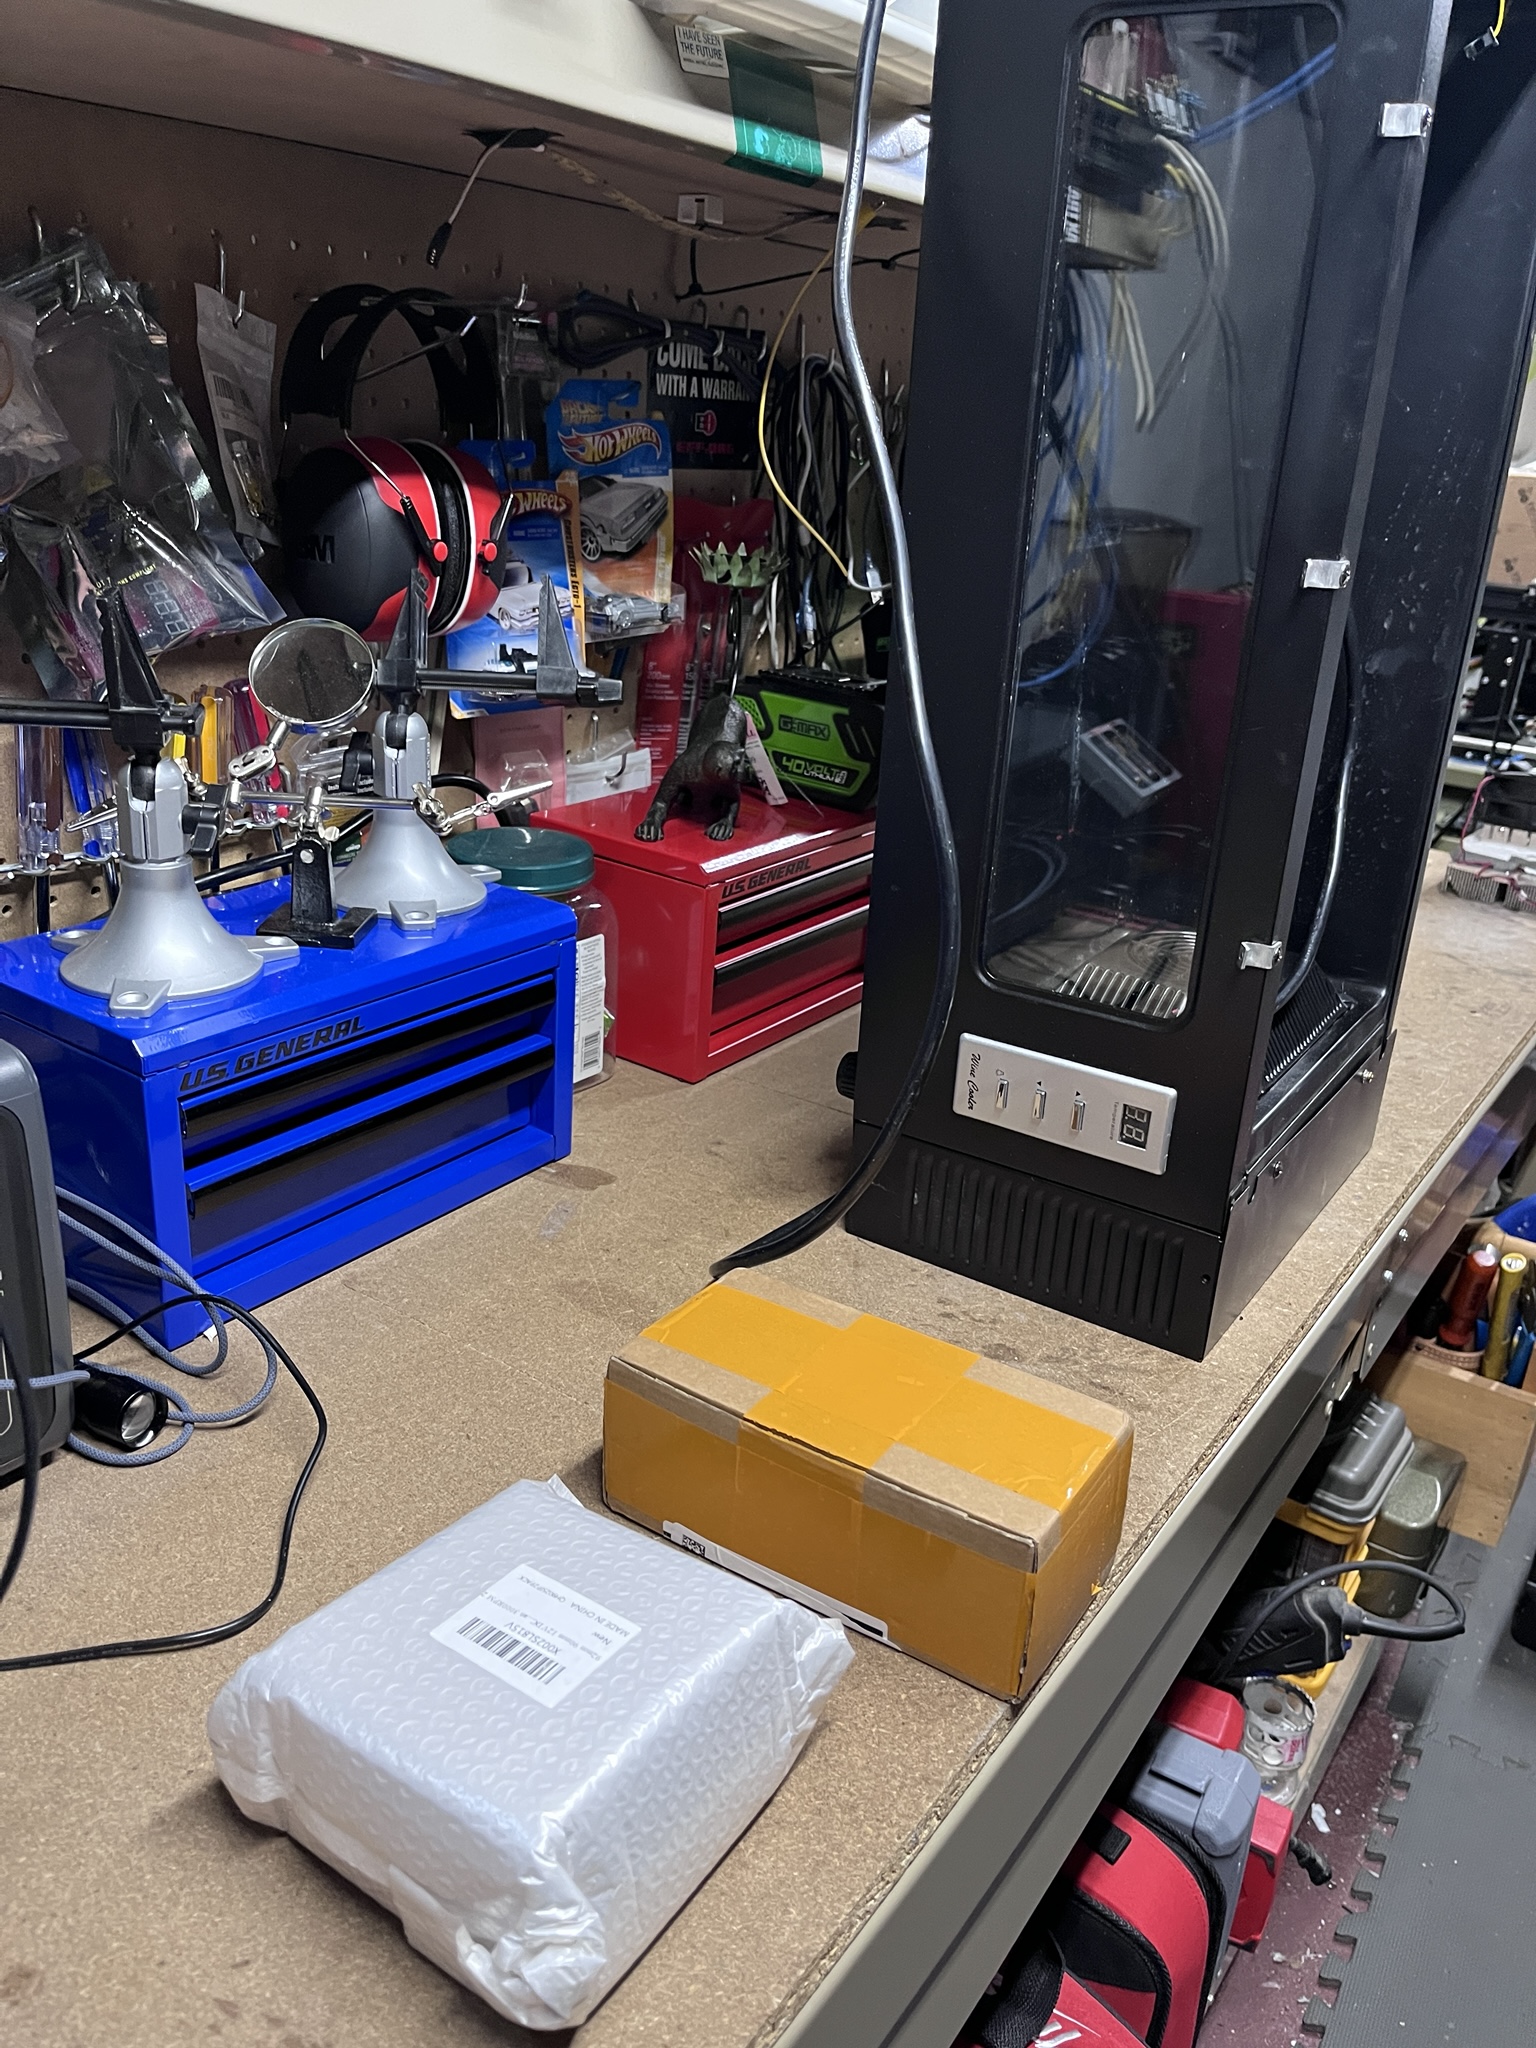
Once I unpacked the parts (replacement power supply and four replacement fans) I had to get my bearings again as to how the thing goes together and comes apart. I wanted to take it a little more carefully this time and avoid having to repeat steps as well as avoid getting shocked.
As you'll recall from last time, the cooler's electronics consist of a power supply and a Peltier device sandwiched between two fans. There's two of these complete assemblies, one at each end and then a small control panel to set the thermostat, monitor the current temperature and turn the lights on and off.
I started by replacing the fans on the end with the bad power supply. I had left the machine disassembled with the bad supply removed and replacing the "hot side" fan was simple because it happens to use the same type of connector that the fan comes from the factory with.
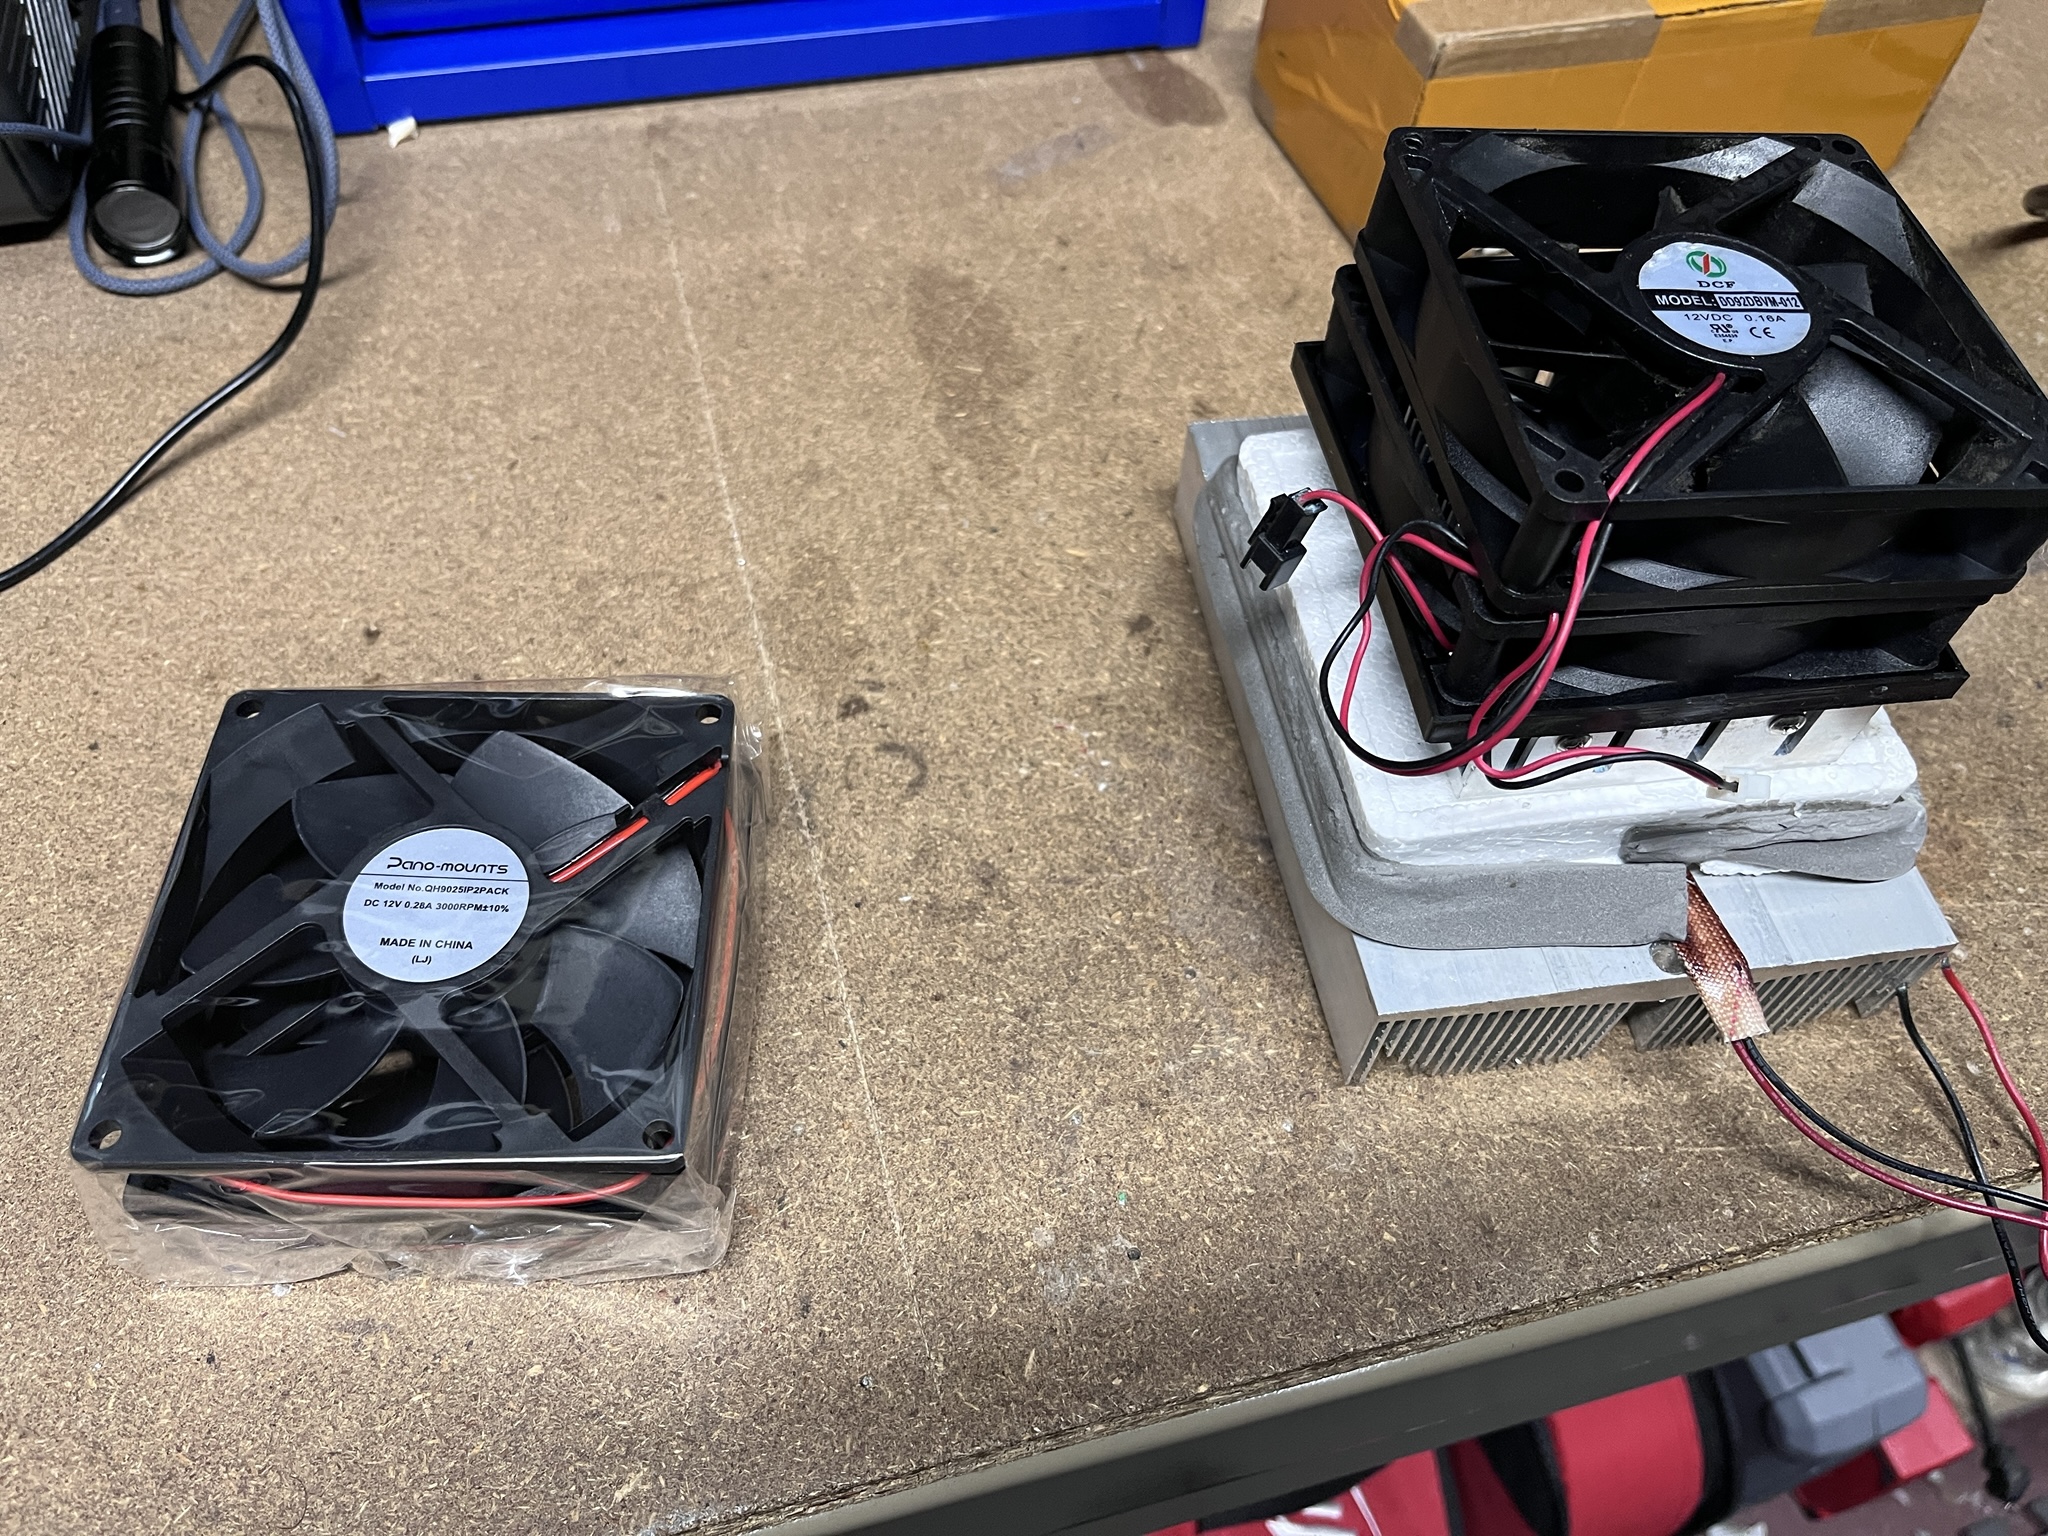
Replacing the cold-side fan was a little more work. That fan connects to a pair of wires that goes back to the other side of the cooler and uses a different connector. I would have considered moving this connector to the new fan, but it had been exposed to water (I'm guessing condensation) and was severely corroded. I don't like making more work for the next person to work on this, but I decided to hardwire the fan in since the old connector is unusable and I didn't have anything suitable on-hand to replace it. I also think the hard-wired option might be more reliable given what this connection is exposed to (based on the condition of the original connector), and if someone in the future has to replace this fan, they would get stuck modifying the connection anyway.
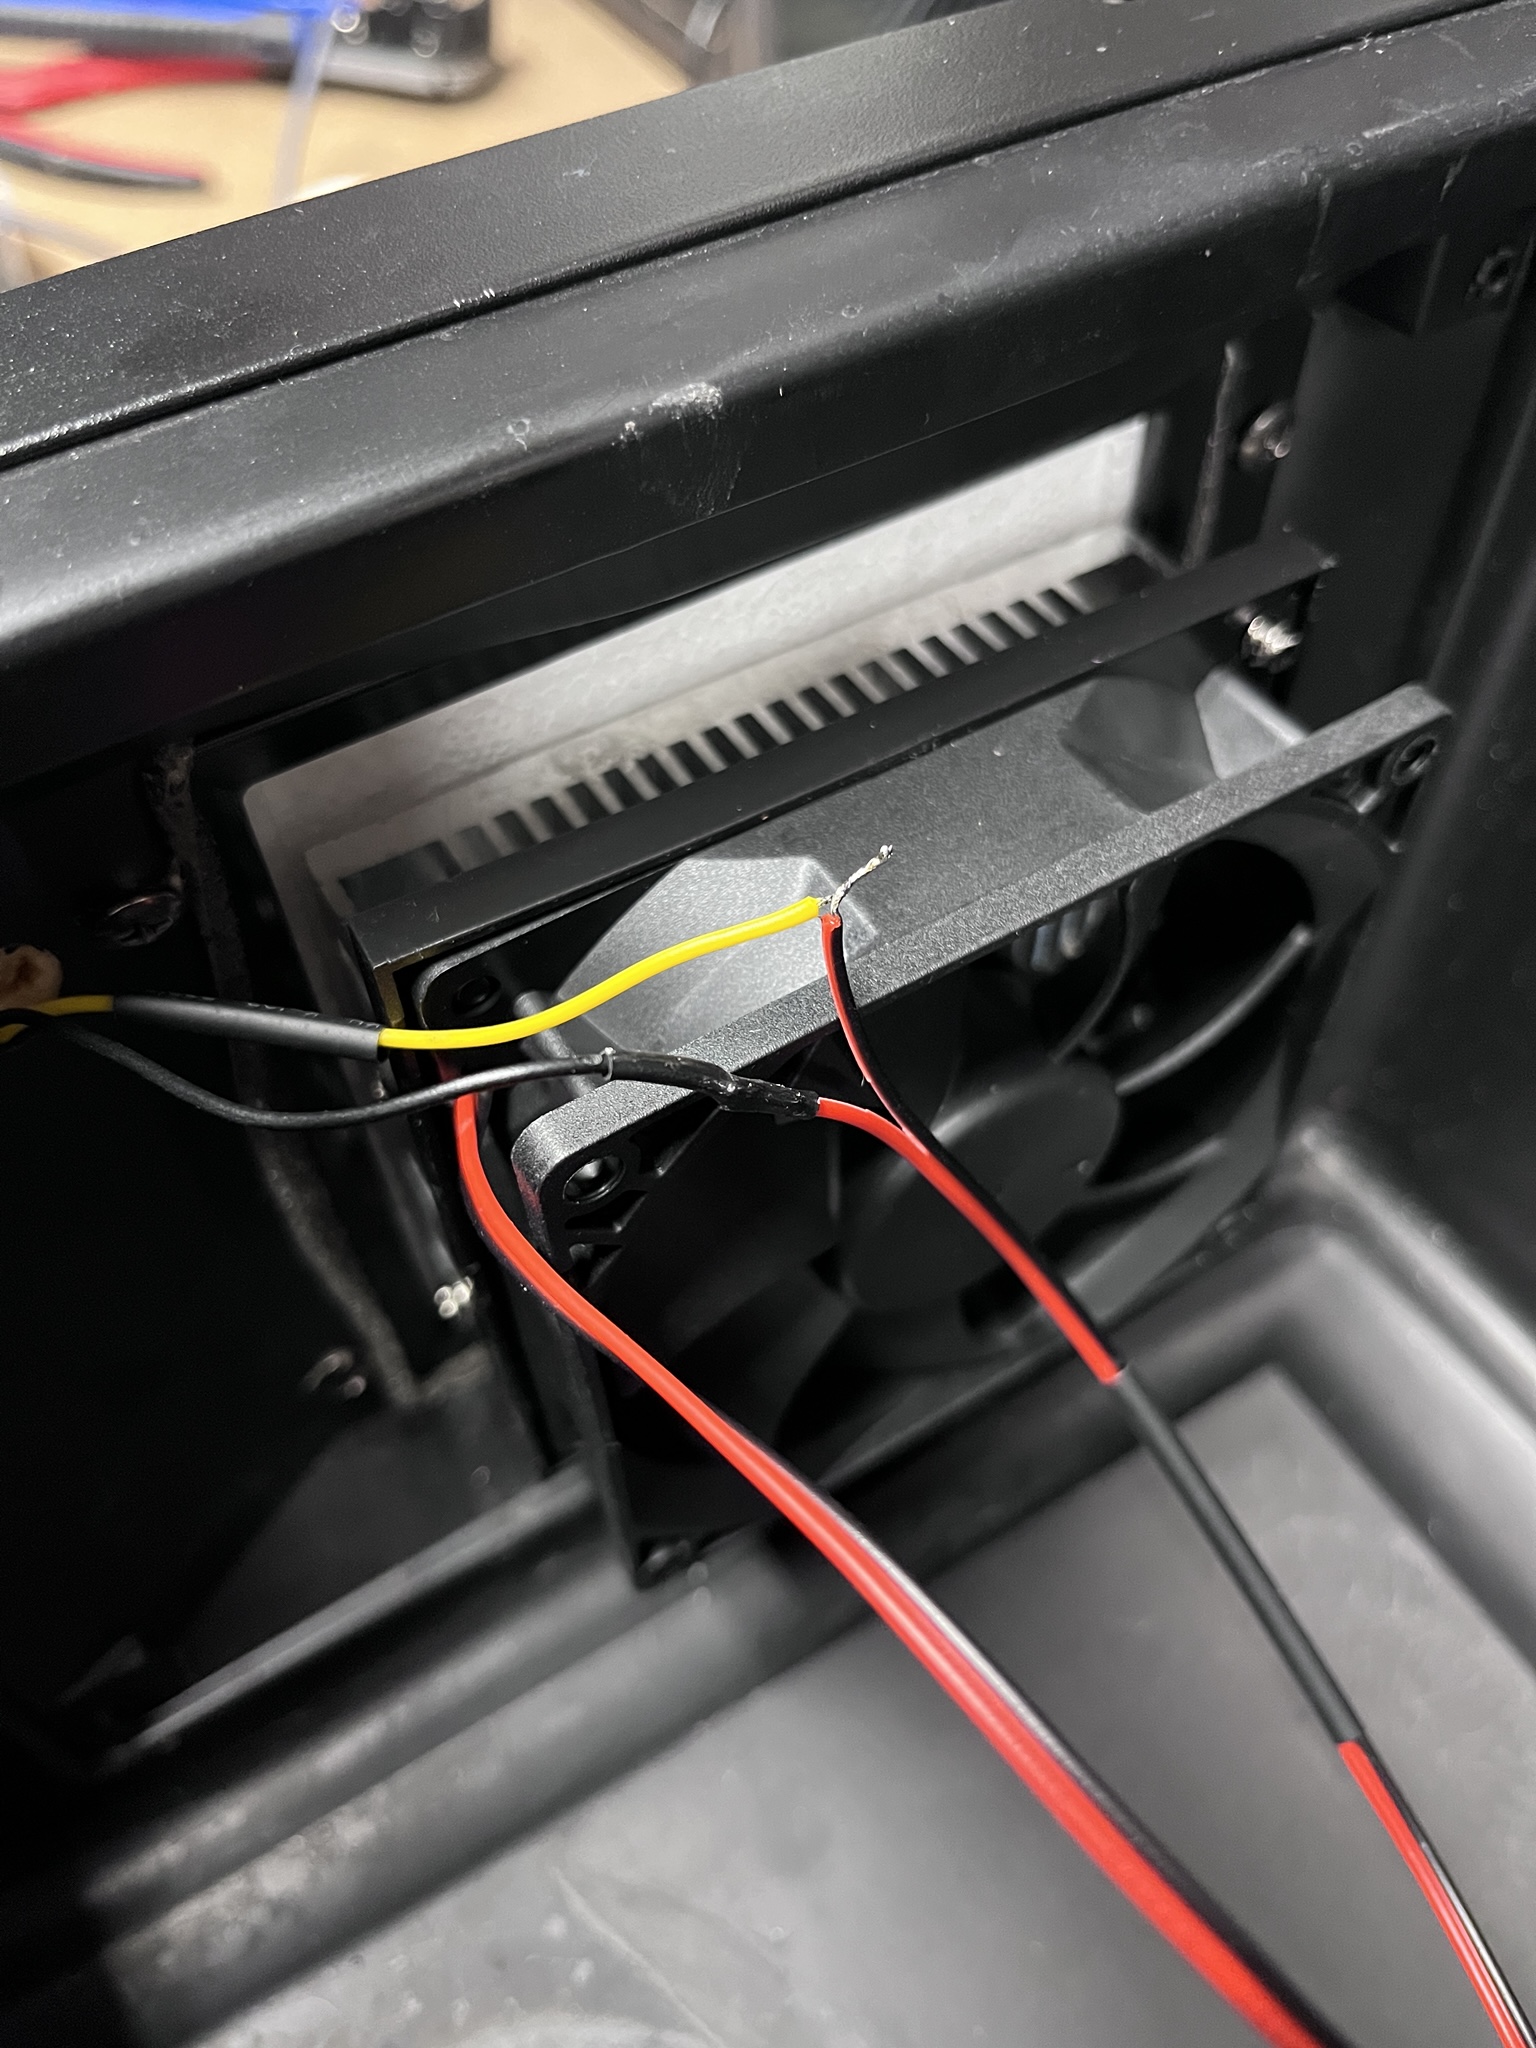
Once the fans were replaced I installed the new power supply. The Peltier was hardwired to the original supply and I had desoldered these leads when I removed the failed supply but the new supply has blade connectors for the Peltier power so I rummaged round in the bins to find some crimp-on removable connectors to use with the blades. As luck would have it, I found the connectors but couldn't find my crimper. I'm pretty sure I gave it to Wes with the idea that I'd get myself a better one, but I apparently never got around to doing that. I was able to make-do with some blunt-nosed pliers, but I really need to pick-up another crimper before I forget.
The rest of the power supply install went off without a hitch other than having to refer to the other, working supply to double-check some connections (the power supply has more connectors than needed so I wanted to make sure I was using the right ones).
I powered-on the cooler to test my work and noticed the cold-side fan I just replaced wasn't turning. Since this was the fan I just hard-wired into the system the problem wasn't that I plugged it into the wrong place on the power supply or didn't seat the connector properly, and the cold-side fan on the other end was turning so it didn't appear to be a deliberate action on the part of the thermostat, etc. Time to take it apart again...
I cut the soldered connection out and measured the voltage going to the fan to make sure that there was some and that I had the polarity right. The polarity was correct, and there's voltage on the wires that go to this fan. Weirdly the voltage is 18VDC and change, which is notable because all the fans in this thing (original and replacements) are rated for 12VDC. I imagine there's enough margin designed into these fans that this isn't going to present any danger, but it may have been a contributing factor in the death of the original hot-side fan.
Next I reconnected the fan with some jumper wires to make sure it works before making a more permanent connection. The fan spun-up when power was applied so it appears to be working just fine. The only explanation I can come up with for the earlier failure is that my soldered connections were faulty. This is a surprise, but I see no other explanation.
This time I repeat the power-on test after each step, soldering one wire, testing, soldering the other wire, testing, heat-shrink one, test, etc. I work this way through completing the connection and the fan continues to operate as expected. Problem solved.
Lesson: test as you go
At this point I've spent a bit more time than I had planned due to the re-work and I'm considering my options. I bought four fans because I thought it was prudent to replace all four while I had the machine apart and the cost of two additional fans was marginal. Now that replacing the cold-side fan proved a nuisance and ate-up a lot of the time I had to work, I'm second-guessing replacing the fans on the end of the cooler that worked when it arrived. I decide to split the difference and replace the hot-side fan because it plugs directly into the power supply using the connector already installed on the fan but leave the old cold-side fan alone; this should leave me enough time to do some testing before I have to work on something else.
Now it was time to button-up the chassis enough to do a temperature-holding test and I realize that I've never seen this thing completely assembled (it came to me in pieces). I assumed there was a door on it but as it turns out there's not. Instead, there is a panel with eight wine bottle-sized holes. Bottles to be chilled are inserted into these holes and an elastic grommet of sorts seals the gaps to prevent air exchange between the cooler chamber and the environment. This is clever, but I don't have eight bottles of wine in the lab to plug these holes and while the grommet is somewhat self-sealing, it's far from air-tight and I assume that in normal use all eight holes need to be plugged with bottles.
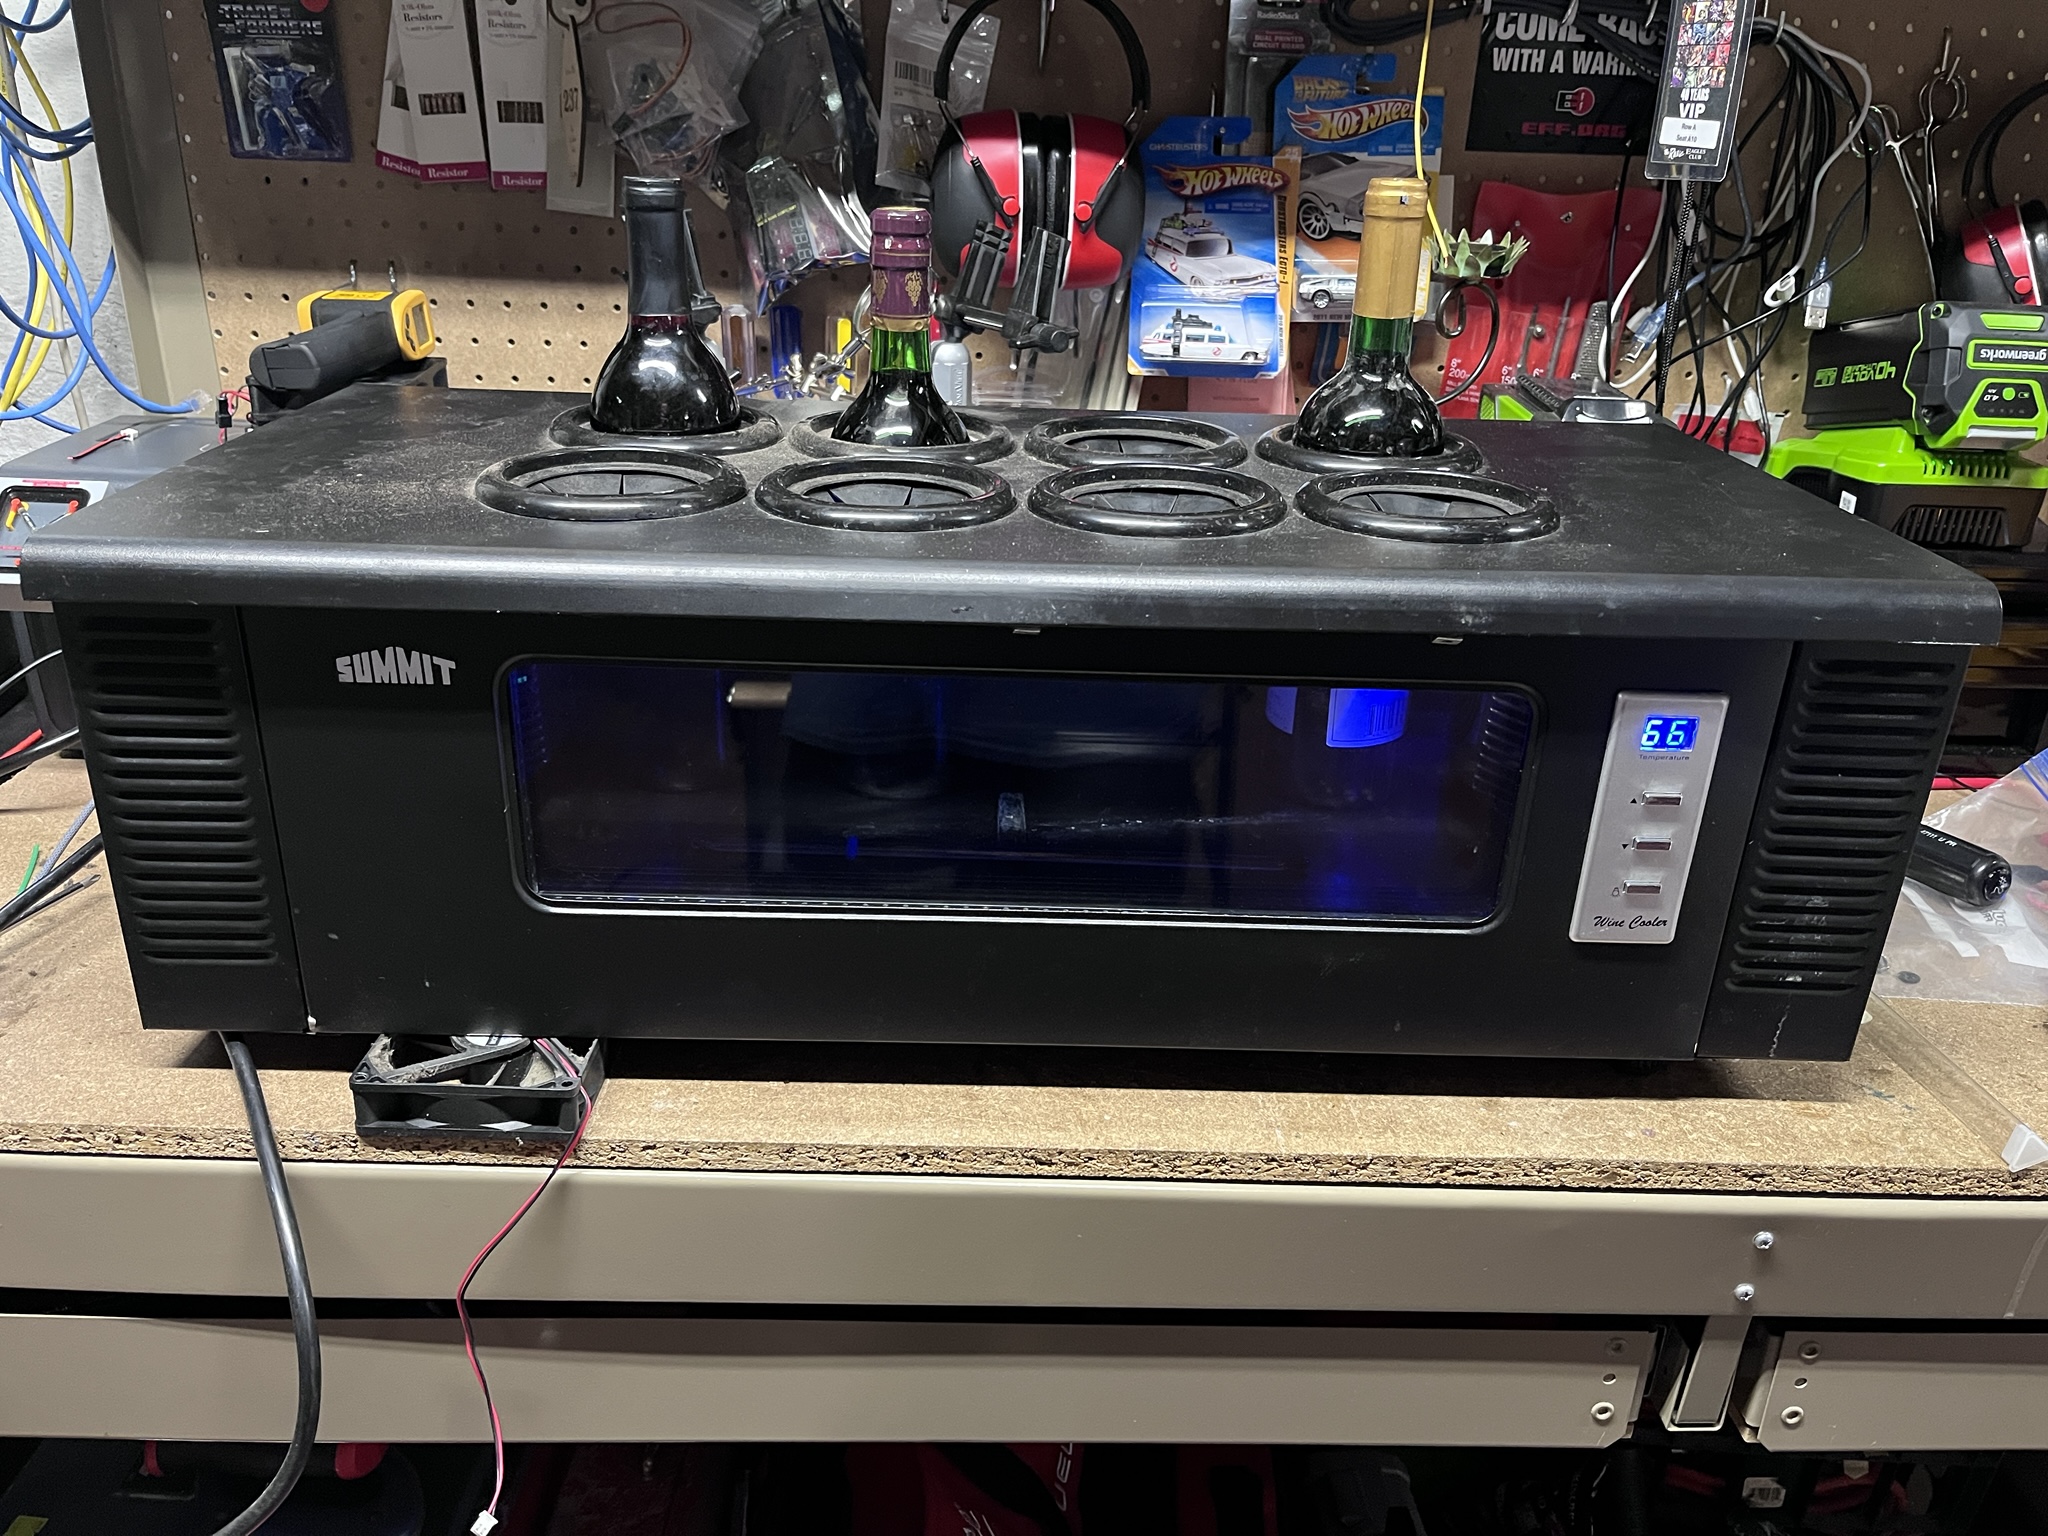
The best idea I can come-up with is to lay some books over the holes and give it a shot. I popped a lab thermometer in the chamber so I could compare it's measurement with the readings on the LED display and see if the indicated temp is anywhere near the actual chamber temp.
I set the thermostat at 50F and monitored the cooler for about fifteen minutes. Starting with about 66F as measured by the cooler's thermostat (same as ambient temp), the temperature dropped about five degrees during the test period. During this period the cooler was drawing about 250 watts as measured by the Bluetti I use on the workbench to test AC-powered things. I left this run while I cleaned-up the workbench and it steadily declined until the display reached the set temp of 50F. At this point the current draw dropped to around 100 watts and for the most part stayed there.
Since I don't know much about chilling wine (I drink mostly reds) I texted Jim to see what they normally set the thermostat to on a cooler like this so I could test it under real-world conditions. He said he thought it went down to 47, which I took to mean "we run it as cold as it goes" so I cranked the thermostat down as far as it would go to see if it could hold this temp.
I was concerned about how thermal mass might impact the performance of the cooler and tried to find something more realistic to simulate a full set of wine bottles than my books simply blocking the holes. I realized that maybe bottled water would be closer so I popped eight bottles of water in the holes. These are not quite the right size and shape, and as such don't close off the holes as well as I'd like, but I figured it was better than nothing. With this configuration I left the cooler running overnight to see how it performed with the thermostat set to it's lowest setting of 47F.
I occasionally checked the Bluetti to see how many watts the cooler was drawing as a way to see if it hit the set temp without having to run down to the lab (figuring the current draw would drop to around 100W once set temp was achieved). Every time I checked it was still drawing around 250W.
The next day I went down to the lab to do something else and peeked-in on the cooler. It was making an unusual noise, and I could tell it was coming from the cold-side fan that I didn't replace. When I pulled the bottles and cover off I could see the cold-side of the Peltier heat sink was completely iced-up! The ice was interfering with the fan blades which is what was creating the new noise. I unplugged the cooler and left it to defrost.
I'm very curious as to why the Peltier with the cold-side fan I didn't replace iced-up but the other side didn't. I'm also surprised that the Peltiers are capable of getting cold enough to ice-up at all. The cooler does have a drain path and sort of spigot for draining liquid from the chamber so I assume that this sort of condensation is expected, but from everything I've seen so far I don't think there's any provisions for automatic defrosting (although with the right power supply it's easy to imagine how this might work, as reversing the polarity of a Peltier reverses the flow of heat). I think it's safe to assume that this sort of freezing-up isn't normal, although if it had happened in the past that would explain the corrosion I noticed on the cold-side fan connector.
As much as I want to answer all those questions I think the most obvious thing this points to is that I should replace the last original fan. That is the only difference I'm aware of between the two ends of the cooler, and it seems reasonable that a performance difference between the two cold-side fans might cause one side to exhibit a different behavior than the other. Plus, it's just the right thing to do and the only reason I didn't do it was because I was in a hurry.
Lesson: take time to do it right
I'm not sure if replacing the last fan will solve the "icing problem" or not, and my guess is that the poor air seal of the water bottles is a contributing factor. That said, I'm going to try to replace that fan and run another extended test before I return the cooler just to see what happens.
While the test results are mixed I think it's safe to say that the repair itself is complete. There's a lot of things I'd love to improve while I have the cooler but at some point I have to choose to stop or it will never be done. I've had this thing for a couple months now and while I've only spent a few hours working on it, it has a job to do and even though I'm sure I could improve it further, it's probably good enough to go back to work.
Jason J. Gullickson, 2026